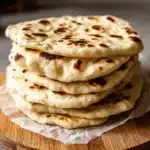
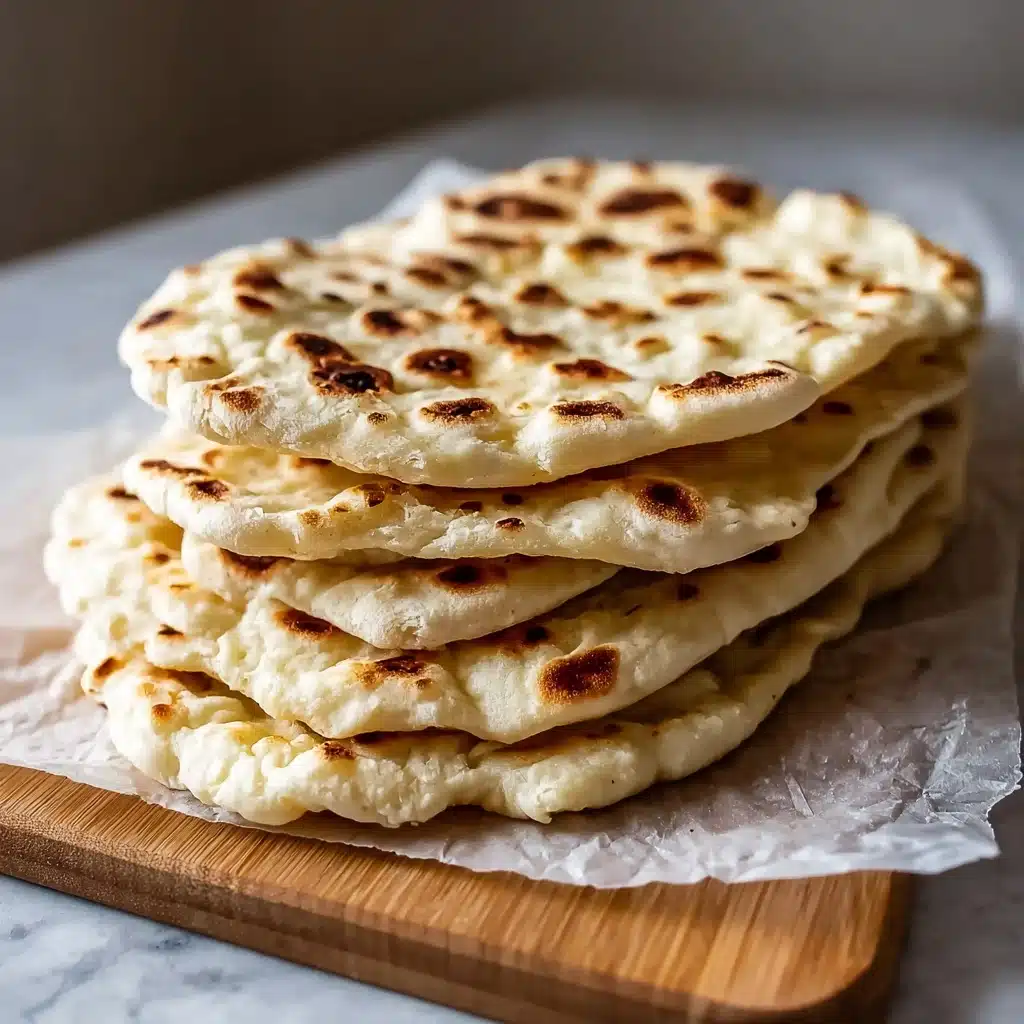
Imagine biting into a pocket of pillowy, warm bread that’s ever-so-slightly golden on the outside and outrageously soft within—meet your new go-to: the Best Ever Greek Pita Recipe. Fresh from the pan, these pitas are irresistibly fragrant and versatile, ready to wrap up your favorite fillings or scoop up those delicious dips. I promise, once you taste how easy homemade pitas can be, you’ll never want to go back to the store-bought kind again. With just a handful of simple ingredients and about an hour of your time, you can create fluffy, flavorful Greek bread that’s leagues above anything you’ll find on a shelf.
Ingredients You’ll Need
The beauty of the Best Ever Greek Pita Recipe lies in its simplicity—every ingredient has a purpose and an impact, whether it’s building flavor, offering that signature chew, or encouraging the perfect rise. Here’s what you’ll need to gather before you get started:
- All-purpose flour: Provides the tender, airy structure of the pitas—don’t forget extra for dusting your work surface.
- Active dry yeast: The secret ingredient that makes your pitas puff up and stay delightfully soft.
- Kosher salt: A must-have for bright, balanced bread flavor, every bite needs it!
- Warm milk: Adds a hint of richness and helps make the dough smooth and pliable.
- Warm water: Essential for yeast activation and to create that classic fluffiness.
- Olive oil: Lends Mediterranean flavor and a sumptuous, soft crumb, plus it prevents sticking and burning during cooking.
- Melted garlic and herb butter (optional): For brushing over warm pitas if you crave an aromatic, decadent finishing touch.
How to Make Best Ever Greek Pita Recipe
Step 1: Mix Your Dry Ingredients
Start in a large mixing bowl by combining all-purpose flour, active dry yeast, and kosher salt. Don’t rush this step—blending the dry elements first ensures that the yeast and salt are spread evenly, helping the dough rise beautifully and deliver uniform flavor in every bite of your Best Ever Greek Pita Recipe.
Step 2: Add Liquids and Form the Dough
Pour in the warm milk and warm water—make sure they feel like soothing bathwater to the touch, not hot, to avoid ruining your yeast. Give everything a good stir, then pour in your olive oil. With your hands (yes, you’ll get a bit messy!), knead everything together for a few minutes until you see a cohesive dough start to come together. Trust me, hands-on time here will make all the difference.
Step 3: Let the Dough Rise
It’s time to let your dough rest and rise. Lightly oil a clean bowl, plop in your dough, and coat its surface lightly with more oil to prevent drying out. Cover the bowl with plastic wrap, then set it somewhere warm and cozy for about an hour. When you return, your dough should have bloomed and nearly doubled in size—the best sign that your Best Ever Greek Pita Recipe is on its way.
Step 4: Shape Each Pita
Sprinkle your counter generously with flour to prevent sticking, then turn the risen dough out and slice it into eight equal pieces. Shape each piece into a ball, flatten slightly, and use a rolling pin to create rounds about 7-8 inches wide and a quarter-inch thick. Don’t worry about perfect edges—a little rustic character is encouraged.
Step 5: Cook the Pitas
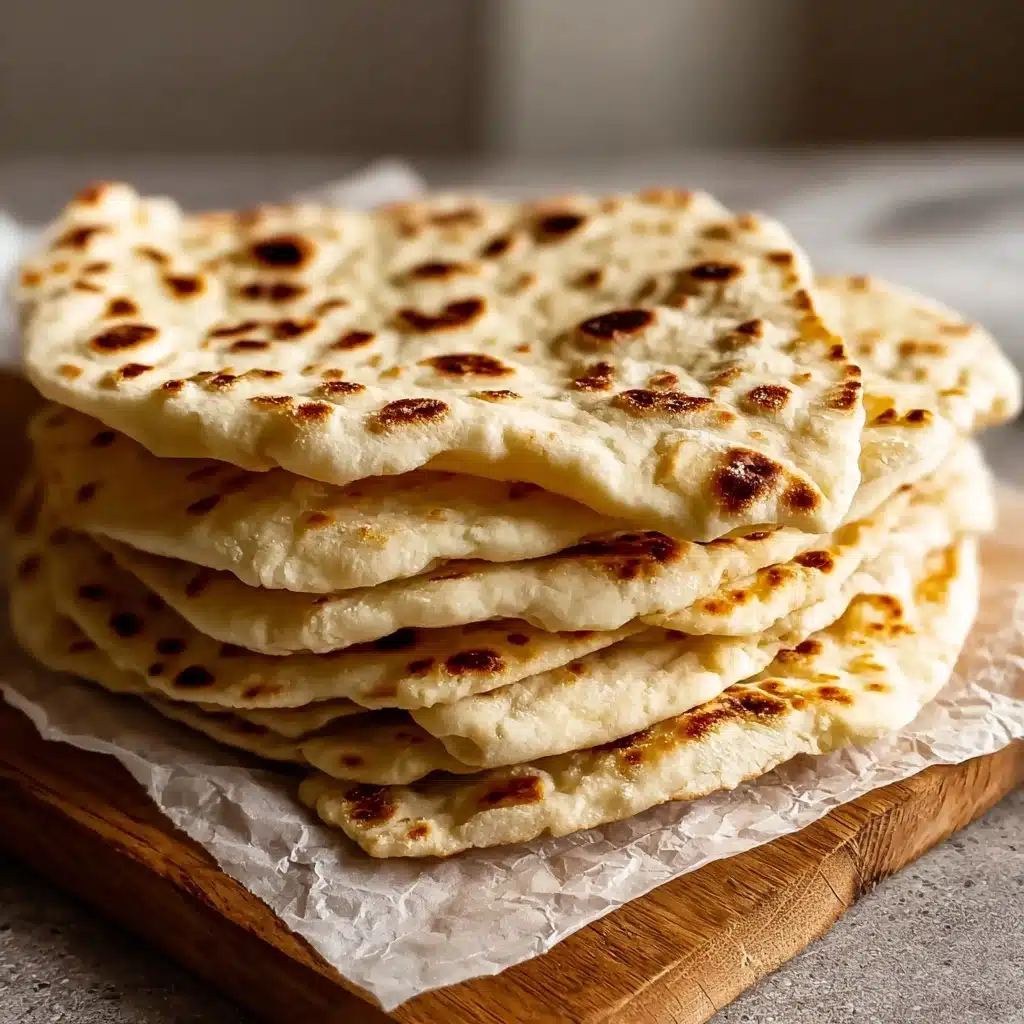
Heat up a trusty cast iron pan on high, and swirl in a teaspoon of olive oil. Drop in your first pita, watching eagerly as little bubbles begin to rise and golden spots appear on the underside. After about a minute, drizzle the top with a touch more olive oil, flip, and let it finish with another golden sweep. Cover cooked pitas with a towel to keep them ultra-soft while you finish the rest of your Best Ever Greek Pita Recipe batch.
Step 6: Optional But Irresistible Finishing Touch
If you want to level up your pitas, brush them straight from the pan with melted garlic and herb butter. The aroma is out of this world, and it adds a decadent layer to the classic pita, making this Best Ever Greek Pita Recipe truly unforgettable.
How to Serve Best Ever Greek Pita Recipe
Garnishes
For a quick upgrade, sprinkle your warm pitas with flaked sea salt, freshly chopped parsley, or even a hint of smoked paprika. A drizzle of really good olive oil or a wave of za’atar can also give your Best Ever Greek Pita Recipe that extra sparkle.
Side Dishes
Pair your pitas with creamy hummus, vibrant tzatziki, or smoky baba ganoush for authentic flavors. They also make a dreamy companion to Greek salads, marinated olives, or a platter of chargrilled veggies.
Creative Ways to Present
Try folding each pita around grilled souvlaki or falafel for a handheld feast, tearing and dunking it into dips, or layering with roasted vegetables and feta for a lunch wrap. For parties, cut each pita into triangles and bake them into crispy chips—perfect for scooping up every last bit of mezze.
Make Ahead and Storage
Storing Leftovers
If you find yourself with leftover pitas, let them cool to room temperature before sealing them in an airtight bag or container. They’ll stay perfectly soft and fresh in the pantry or countertop for up to two days.
Freezing
One of the best things about the Best Ever Greek Pita Recipe is how well it freezes. Simply separate each bread with a layer of parchment paper and tuck them into a zip-top freezer bag. They’ll taste just-baked for up to two months—ideal for future snack cravings!
Reheating
To restore that warm, pillowy texture, wrap your pitas in foil and place them in a 350°F oven for about 5 minutes. Alternatively, reheat gently in a skillet for that little bit of char and extra flavor—the breads will be as good as new.
FAQs
Can I use whole wheat flour instead?
Absolutely! Swapping half the all-purpose flour for whole wheat flour gives your pitas a lovely nutty depth and boosts the fiber content. The texture will be slightly heartier, but still delicious.
Why didn’t my pita puff up?
The most common culprits are under-proofed dough or a pan that isn’t hot enough. Make sure your dough doubles during the rise and that your skillet is sizzling before you add the dough. That’s key for achieving those magical pita pockets!
Can I make this dough ahead of time?
Yes! You can mix and knead the dough, then let it rise in the fridge overnight (it should be well-covered). When you’re ready to cook, let it come to room temperature and proceed with shaping and pan-cooking.
How can I keep my pitas soft?
Right after cooking, stack your pitas and cover them with a clean kitchen towel. This traps the steam and keeps them ultra-soft and pliable—perfect for wrapping or tearing.
What can I do with leftover pitas?
Slice them into triangles and bake for homemade pita chips, or use them for mini pizzas, sandwich wraps, or even as a base for quick flatbreads with your favorite toppings.
Final Thoughts
If you’ve never tasted homemade bread still warm from your own kitchen, you’re in for a treat with the Best Ever Greek Pita Recipe. It’s delightfully simple, endlessly customizable, and truly worth every minute. Give it a try and watch these pitas steal the show—whether you’re serving them for weeknight dinners, family feasts, or just a little snack for yourself!
PrintBest Ever Greek Pita Recipe
Learn how to make the Best Ever Greek Pita Bread with this simple and delicious recipe. These homemade pitas are soft, fluffy, and perfect for filling with your favorite ingredients!
- Prep Time: 15 minutes
- Cook Time: 3 minutes per pita
- Total Time: 1 hour 18 minutes
- Yield: 8 pita bread
- Category: Bread
- Method: Baking
- Cuisine: Greek
- Diet: Vegetarian
Ingredients
For the Dough
- 1 ½ cups all-purpose flour, plus more for surface
- 1 tablespoon active dry yeast
- 1 teaspoon kosher salt
For Mixing & Cooking
- ⅓ cup warm milk
- ⅓ cup warm water
- 2 tablespoons olive oil, plus more for the bowl and pan
Optional for Finishing
- Melted garlic and herb butter (optional, for brushing after cooking)
Instructions
- Mix Dry Ingredients: In a large mixing bowl, combine the flour, active dry yeast, and kosher salt. Stir to evenly distribute the ingredients.
- Add Liquids and Form Dough: Pour the warm milk and water into the dry mixture. Stir until combined, then add the olive oil. Knead the mixture with your hands in the bowl for a few minutes until a cohesive dough forms.
- First Rise: Lightly oil a separate bowl using a brush or your fingers. Place the dough inside and coat the surface lightly with oil. Cover the bowl with plastic wrap and let it rest for about 1 hour, or until the dough doubles in size.
- Shape the Pitas: Dust your work surface with flour. Turn the risen dough onto the surface and divide into 8 equal pieces. Using your hands, shape each piece into a circle, then use a rolling pin to roll each into a ¼-inch thick round, about 7-8 inches wide.
- Cook the Pitas: Heat a cast iron pan over high heat. Add 1 teaspoon of olive oil. Place one pita in the pan and cook for about 1 minute, until bubbles form and the bottom is golden. Drizzle a little oil on top, flip, and cook for another minute until both sides are golden and the pita is cooked through. Repeat with remaining dough rounds.
- Optional Finishing Touch: If desired, brush the warm pitas with melted garlic and herb butter for extra flavor before serving.
Notes
- Ensure your water and milk are warm, not hot, to help activate the yeast and encourage a good rise.
- For even fluffier pitas, allow the dough to rest for the full hour or until doubled in size.
- Cover cooked pitas with a kitchen towel to keep them soft while you finish the batch.
- The pitas freeze well—store in an airtight bag for up to 2 months and reheat as needed.
- You can substitute whole wheat flour for half of the all-purpose flour for a nuttier flavor and more fiber.
Nutrition
- Serving Size: 1 pita bread
- Calories: 124
- Sugar: 1g
- Sodium: 296mg
- Fat: 4g
- Saturated Fat: 1g
- Unsaturated Fat: 3.5g
- Trans Fat: 0g
- Carbohydrates: 19g
- Fiber: 1g
- Protein: 3g
- Cholesterol: 1mg

